WordPress Vertical menu plugin is a simple and useful tool for adding nice widget menus to your WordPress website. Our menu plugin also allows adding icons for every element of the menu. You can check our plugin demo page here - Demo. Also, if you have any questions, suggestions, or issues with our plugin, then let us know - Support Forum.
We accept Credit Cards, PayPal, and Debit Cards payments!
WordPress Vertical menu plugin is a very important and handy plugin. It’s very easy to use and has a lot of nice features. Below you can see features of our responsive vertical icon menu.
Features of WordPress Vertical Menu
- Easy install and use
- Works without problem with all WordPress versions
- Fully Responsive Vertical menu
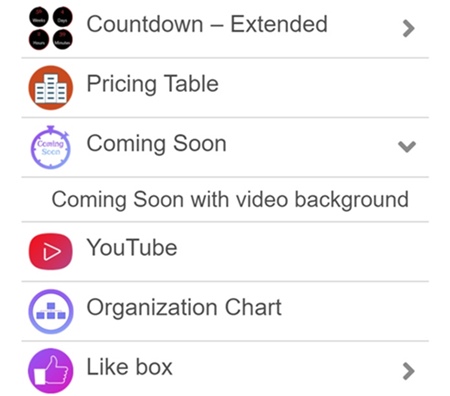
- Ability to add Menu Icon
- Ability to choose Submenu opening type
- Ability to type Submenu opening duration
- Ability to choose Menu icon function when clicking on it
- Ability to change Main menu styles Premium
- Ability to change Sub Menu styles Premium
- Ability to change Active menu styles Premium
- Ability to select Font family Premium
- Ability to set menu border styles Premium
- Ability to set menu Background color Premium
- User friendly back-end
- Tested on popular WordPress themes
User Manual
Step 1: Installing the WordPress Vertical Icon Menu plugin
- Log in to your WordPress administration panel.
- Go to Plugins page Add New > Upload Plugin .
- Click “Choose file” then select the Vertical Icon Menu plugin zip file.
- Then activate the plugin.
- If you have any problem with instalation, contact us support@wpdevart.com.
Step 1.1: Installing the Vertical Menu Premium version
- After purchasing the plugin you will be redirected(click complete the purchase) to our website again and the Premium version download will be started automatically(or you can use the download link on that page).
- If you already use the free version of WordPress Vertical menu plugin, then you just need to deactivate and delete the free version and then install the Premium version.
- If you didn’t get the Premium version, contact us at support@wpdevart.com and we will send the Premium version again.
Step 2: Adding WordPress Vertical menu
First of all go to Vertical menu page from admin panel for creating themes for your menu. After creating theme you need to save it and go to widgets page. Then add vertical menu widget to your sidebar, then select the menu and theme.
If you have any problem, then view our Vertical Menu plugin support forum on WordPress.org official website – Support Forum.
You can also contact us using our contact form on – This Page.
Vertical Menu Screenshots
How to create vertical menu in WordPress
We suggest you an easy and handy way for creating vertical menu for WordPress. We think you guessed what we mean. We have an nice plugin that can create vertical icon menu for your WordPress website just in a few minutes. So why do not use our plugin and build widget menus easily.
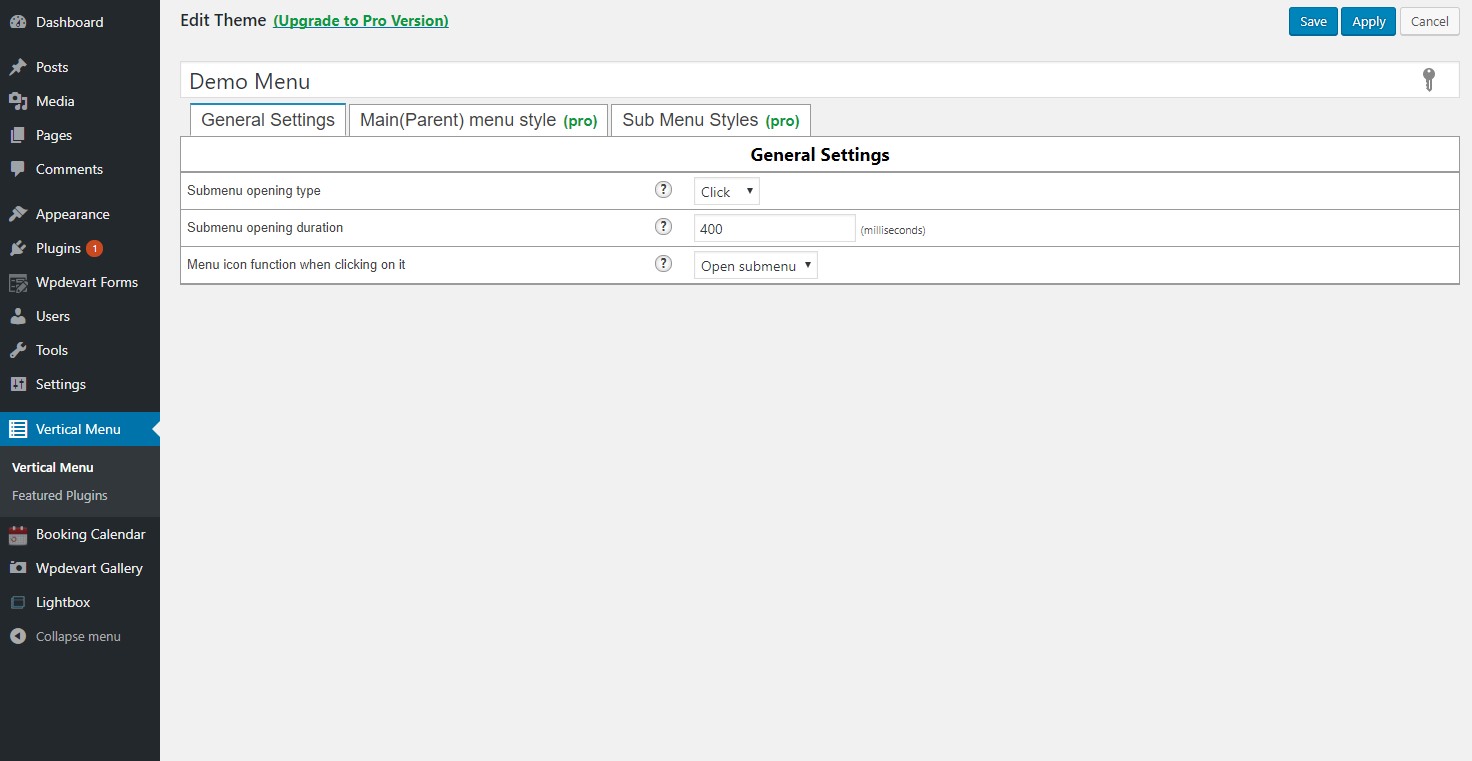
First of all, for creating vertical menu you need to install our plugin. You can download it from this page or use your WordPress website admin panel. Go to your admin page, then open Plugins page and click on add new plugin, then use search bar and type there “wpdevart menu”. After that search will find our plugin and you can install and activate it. After installing our plugin go to Vertical Menu page(find it from admin bar left side). In Vertical Menu page you can edit or add new themes for menu. There are three option tabs, where you can configure different settings.
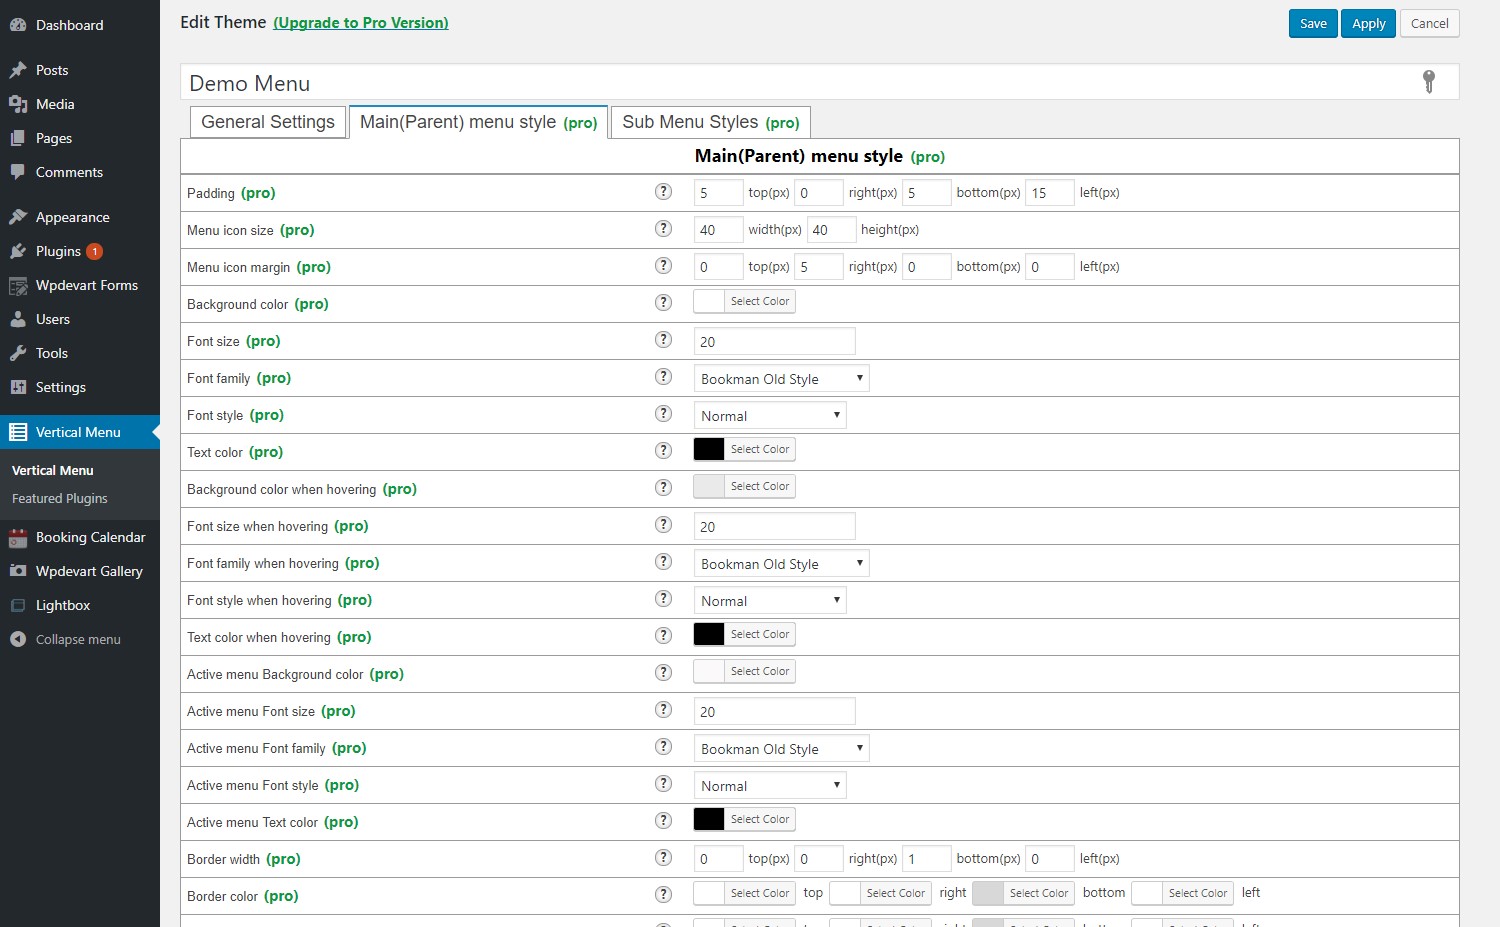
From General settings tab you can configure such option as Submenu opening type, Submenu opening duration, Menu icon function when clicking on it, Showing submenu type.From Main(Parent) menu style tab you can configure different styles for Parent menu, such as font size, color, border and much more. Form Sub Menu Styles you can configure submenu styles. After configuring this settings type the name of them and save.
Then go to WordPress menu page(WordPress admin > Appearance > Menus) and create menu if you didn’t create it yet. It’s very simple, so we will not provide detailed information for this step. You just need to select Pages, Posts, Categories or Custom links from left side and click on “Add to menu” button. After that you will see that Menu item added in right block. Save the created menu.
WordPress sidebar or widget vertical menu
After this steps go to widgets page (WordPress admin > Appearance > Widgets) and find the “vertical menu wpdevart” widget and add it to your sidebar. Open the widget settings. First of all type the widget title.
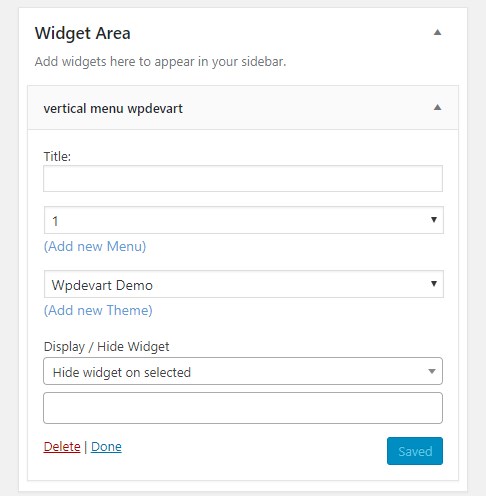
After that you need to select the menu(we already created it from Menus page). Then select the theme for our WordPress sidebar vertical menu(we already created it from Vertical Menu page).
Exclude widget menu from several pages
Below theme option you will see this option “Display / Hide Widget”. This is very important feature that allow you to exclude menu from some pages or even to exclude it from all pages, and show only on one-two pages. First choose what you need – Display widget on selected pages or Hide widget on selected pages. Then click on field below and select pages you need. After this click on “Save” button.