Today we will find out how to install a WordPress Theme. WordPress has a highlight of allowing unlimited possibilities for customization. Users can beautify their sites using some carefully-designed themes, and are able to extend the functionality of websites beyond the WordPress core with the help of powerful plugins.
At present, people can search for and download their needed themes or plugins from WordPress.org and many other third parties available on the web. Now, the question is how to install them and integrate them with the websites properly? In the following, we have come out a detailed tutorial displaying the step-by-step guidance.
How to Install a WordPress Theme?
In fact, WordPress theme is a collection of files working together to skin your website with a unique design. These files can be called template files that decide the way the website is showcased without affecting the underlying applications or scripts (also, check the best WordPress Booking Calendar plugin).
Currently, WordPress has six default themes that are Twenty Twenty, Twenty Nineteen, Twenty Fifteen, Twenty Fourteen theme, Twenty Thirteen theme and Twenty Twelve theme. You can switch among them via the Appearance section of your control panel. After going to Dashboard < Appearance < Theme, you can choose one of the three default options and click the Customize button. Then, modify the settings based on your needs and click Publish button. 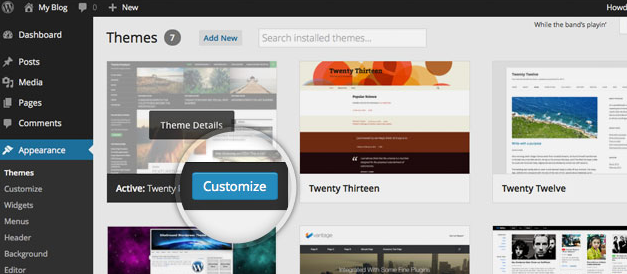
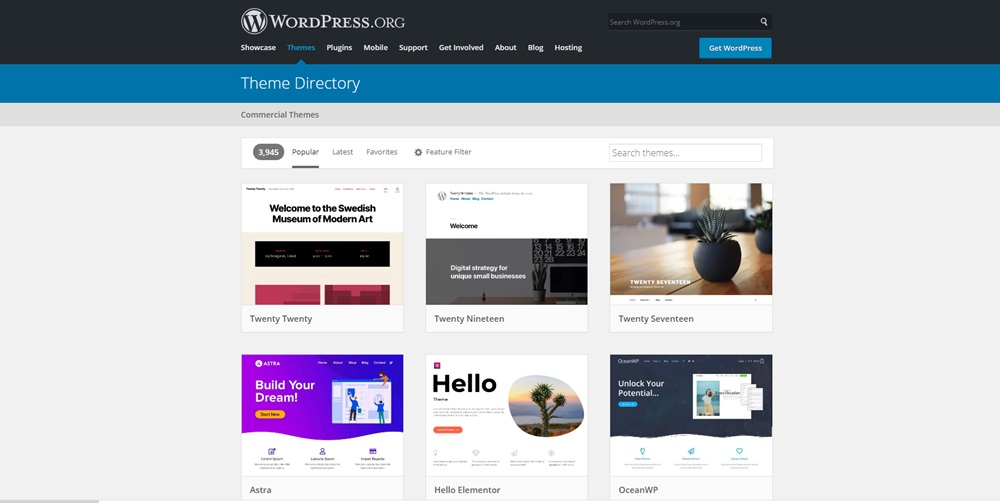
If you don’t want to use the in-built themes, you are allowed to search for and download your preferred one. You can find the best options from the WordPress Theme Directory or some selling platforms like Elegant Themes, Mojo Themes, and Gabfire. After downloading one to your local computer, then you can install the theme using one of the two methods listed in below. The first and easiest way is to install a WordPress theme using the WordPress admin panel (also, you can check our WordPress Pricing table plugin).
WordPress theme install
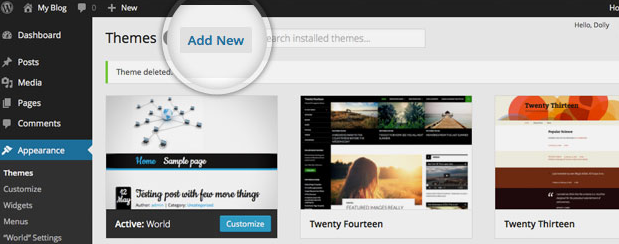
- Login to your WordPress administration panel. Then find the Appearance tab in the left column of the screen. Simply click the Themes button.
- In the next screen, you can find the three default themes. To add a new one, you need to click the Add New button.
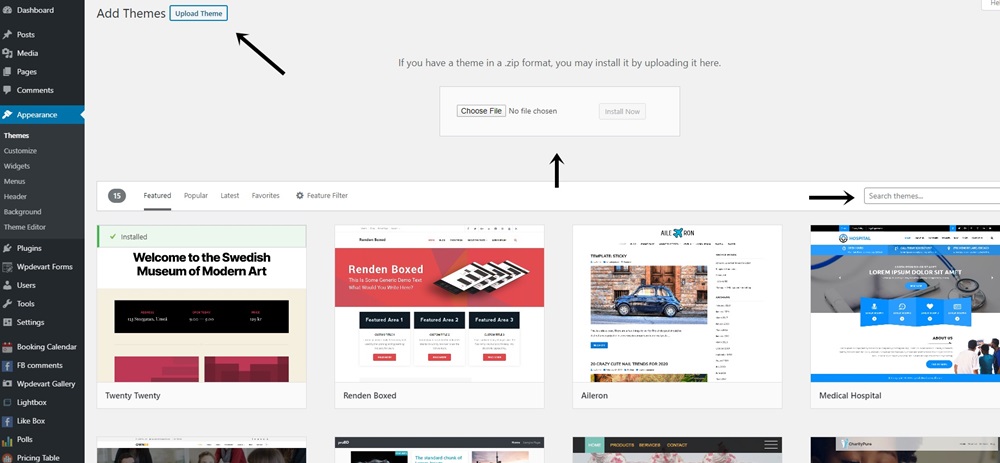
- Next, you can upload the theme you have already installed at your local machine. Click the Search option and open the targeted one.
- Then, simply hit on the Install Now button to upload the theme to your website. After the installation process is completed, don’t forget to activate the theme for utilization.
How to Install a WordPress Theme Using File Manager(FTP)?
Generally, you can get a compressed zip file after downloading a WordPress theme. To upload this file, you can make use of the File manager available in your control panel. Here, we simply assume you use the popular cPanel control panel.
Within the cPanel File Manager, you need to navigate to your Theme folder and click the Upload link to upload the zip file. Note that if you locate the WordPress core at the document root folder, you need to navigate to public_html/wp-content/themes, but if you have it installed in a sub-folder, you need to navigate to public_html/sub-folder name/wp-content/themes.
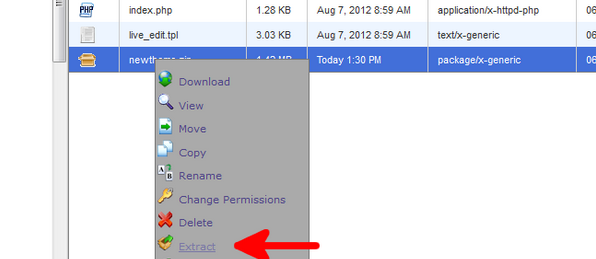
The next step is to extract the uploaded zip file. You only need to right-click the file name and choose the Extract option, then the file can be uncompressed (also, check our WordPress Countdown plugin).
Now, you have uploaded the template file successfully, thus can activate the new theme from the WordPress dashboard.